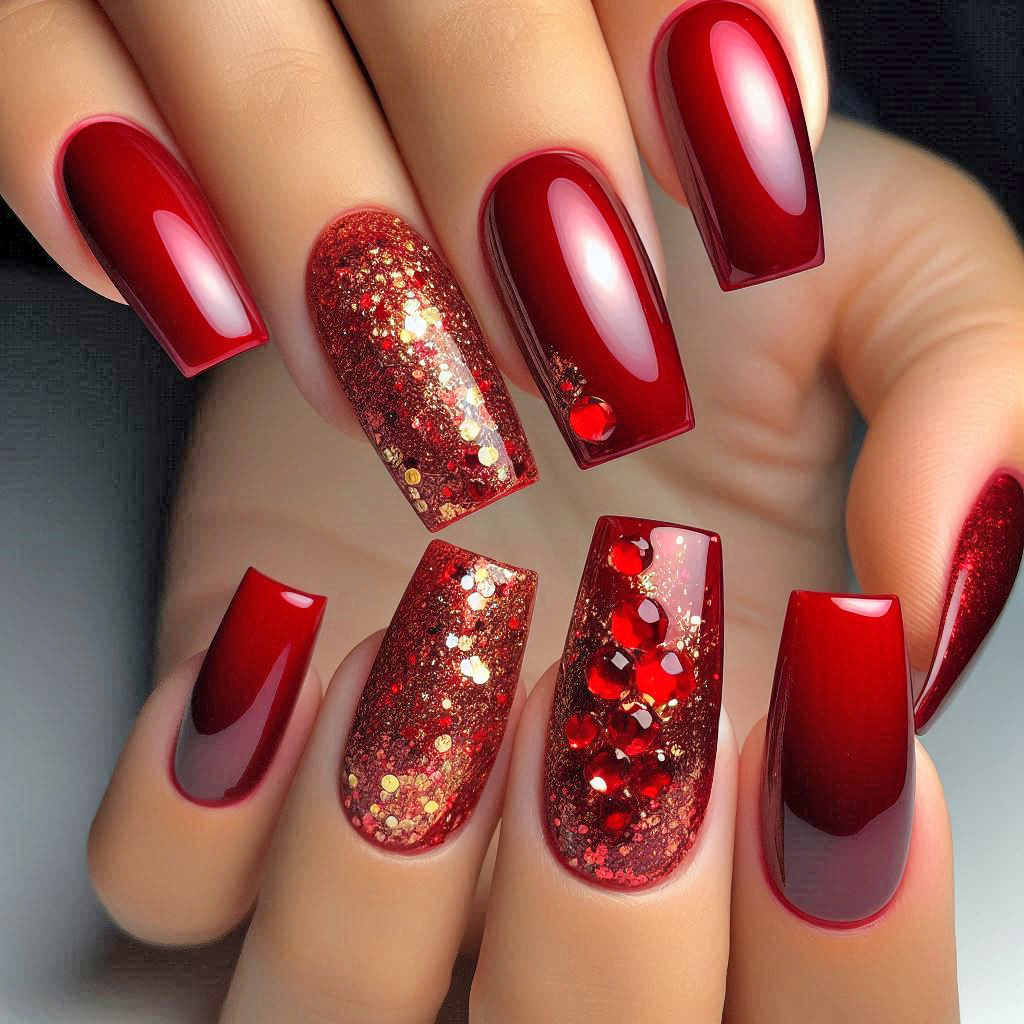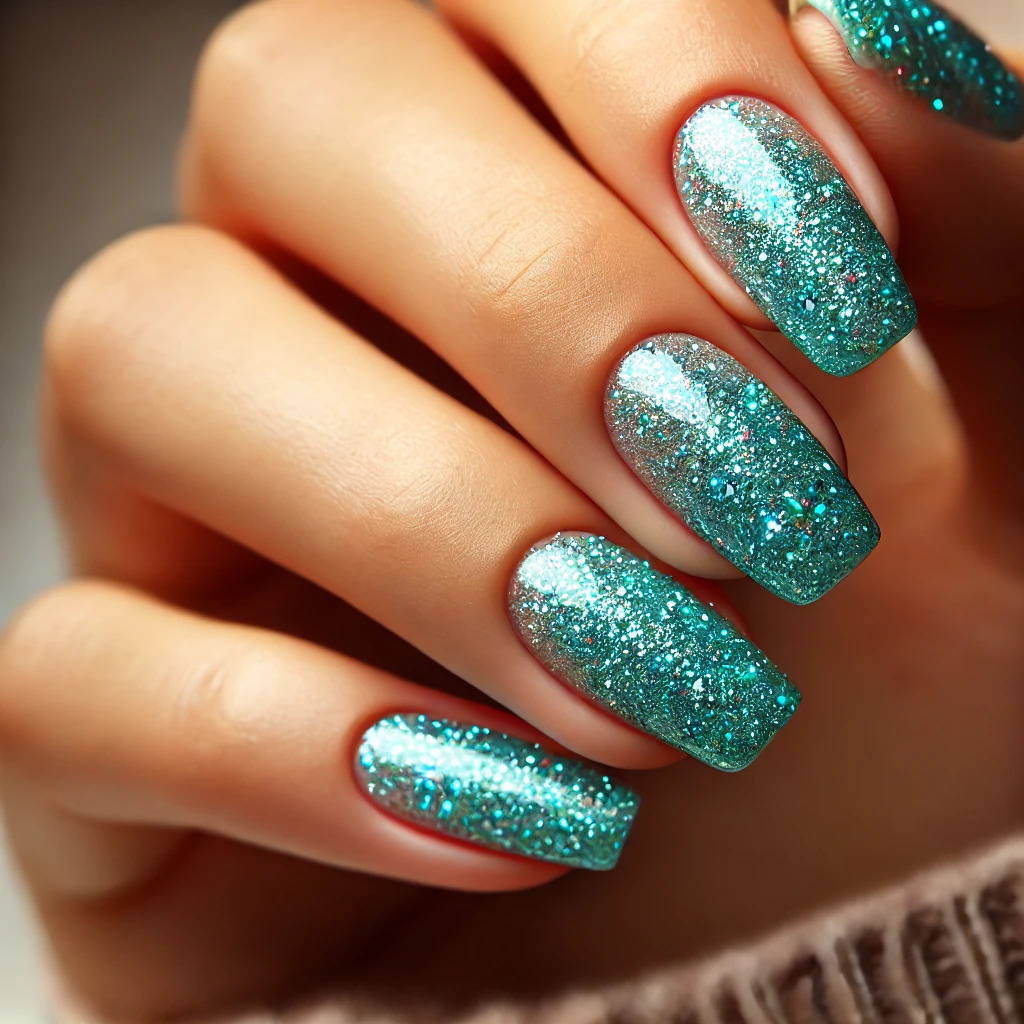
Sparkle & Shine: Easy Glitter Nail Art Tutorial for Beginners
There’s something about glitter nails that just screams fun and fabulous! Whether you're getting ready for a party, date night, or simply want to add a little sparkle to your everyday look, glitter nail art is the way to go. The best part? You don’t need to be a professional to pull it off! Glitter nails are a great option for beginners because they’re forgiving, allowing you to experiment and play without needing to master intricate designs.
In this tutorial, I’ll guide you step-by-step through an easy glitter nail art design that you can do at home. By the end of this, your nails will be sparkling, and you’ll feel like a pro! Let’s dive into the world of glitter and shine.
Tools and Products You’ll Need
Before we get started, make sure you have all the right tools and products handy. Here’s what you’ll need for this glitter nail tutorial:
Nail Clippers
- : To shape your nails to your desired length.
- Nail File and Buffer: To smooth the edges and create an even surface.
- Cuticle Pusher: For pushing back your cuticles and giving your nails a clean base.
- Base Coat: This ensures the glitter adheres properly and protects your natural nails.
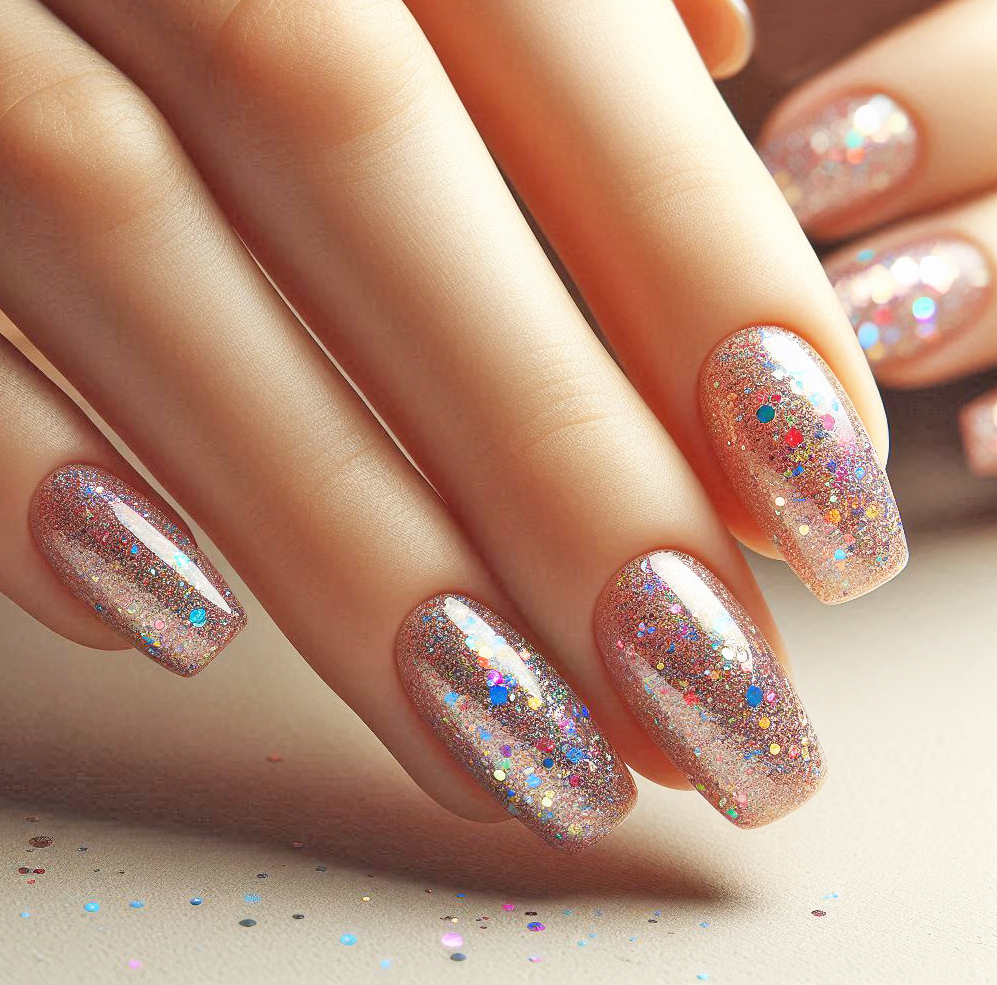
- Glitter Polish or Loose Glitter: Choose your sparkle! You can use glitter nail polish for an easier application, or loose glitter for a more customized design.
- Top Coat: This locks in the glitter and adds shine or a matte finish.
- Small Brush: For cleaning up any glitter or polish around your cuticles.
- Nail Polish Remover and Cotton Pads: Just in case there are any mistakes along the way.
Now that you’ve gathered everything, it’s time to get your nails ready!
Instructions:
Step 1: Prepping Your Nails
Prepping your nails is one of the most important steps to ensure a long-lasting, flawless manicure. Start by trimming your nails to your desired length using nail clippers. Then, use a nail file to shape your nails—whether you prefer square, oval, or almond, make sure all nails are even.
Next, gently push back your cuticles with a cuticle pusher. This helps create a clean canvas for your glitter design and prevents polish from sticking to the cuticles.
Finally, use a buffer to smooth out the surface of each nail. This will help the base coat and glitter polish go on smoothly. Wipe your nails with a little bit of polish remover or rubbing alcohol to remove any natural oils or residue before you begin painting.
Step 2: Applying the Base Coat
A base coat is key to achieving that professional, long-lasting finish. It protects your natural nails from staining and helps the glitter adhere better. Choose a base coat that is specifically formulated for glitter or nail art—something with a bit of tackiness can really help hold the glitter in place.
Apply a thin layer of base coat to each nail, ensuring the coverage is even. Let it dry for a minute or two before moving on to the next step. This base will also smooth out any ridges or imperfections on your nails, giving you a clean surface to work with.
Step 3: Choosing Your Glitter
Now comes the fun part—choosing your glitter! There are so many options, from fine glitter polish to chunky glitter flakes, and each gives a different effect. For beginners, glitter polish is the easiest to work with, as it applies smoothly like regular polish. If you want more texture or extra sparkle, loose glitter is a great choice, but it can require a bit more precision.
Think about the look you want to achieve. Do you want a subtle shimmer or bold sparkle? Fine glitter will give you that understated glam, while chunky glitter will make your nails really pop. You can even mix and match different glitters for a more unique look.

Step 4: Applying the First Layer of Glitter
Once you’ve picked your glitter, it’s time to start applying! If you're using glitter nail polish, apply the first thin coat just like regular polish. Make sure you cover the entire nail and don’t worry if it looks a little sheer—that’s normal for the first coat. The key here is to build up layers slowly so the polish doesn’t get too thick.
If you're using loose glitter, apply a clear or glitter polish base first and then sprinkle the glitter over the wet polish. You can do this by either tapping the glitter directly onto the nail or dipping your nail into the glitter. Gently press the glitter down so it sticks well to the polish.
Step 5: Layering for Extra Sparkle
To really make your nails stand out, it’s time to add more layers. After your first glitter coat dries, apply another thin layer of glitter polish or another round of loose glitter. The more layers you add, the more intense the sparkle will be.
Be careful not to overload the nails with too much product, as this can cause your nails to look thick and clumpy. If you're aiming for a bolder look, focus on applying the glitter more densely toward the tips or even experimenting with a gradient effect.
Let each layer dry thoroughly before moving on to the next.
Step 6: Sealing in Your Glitter with a Top Coat
Now that your glitter is on, you’ll want to seal it in with a high-quality top coat. This step not only adds shine (or a matte finish if you prefer) but also smooths out the texture of the glitter, leaving your nails with a professional look.
Apply a generous layer of top coat, ensuring you cover the edges of your nails to prevent chipping. For maximum durability, you may want to apply a second layer of top coat, especially if you've used chunkier glitter.
Step 7: Clean Up and Final Touches
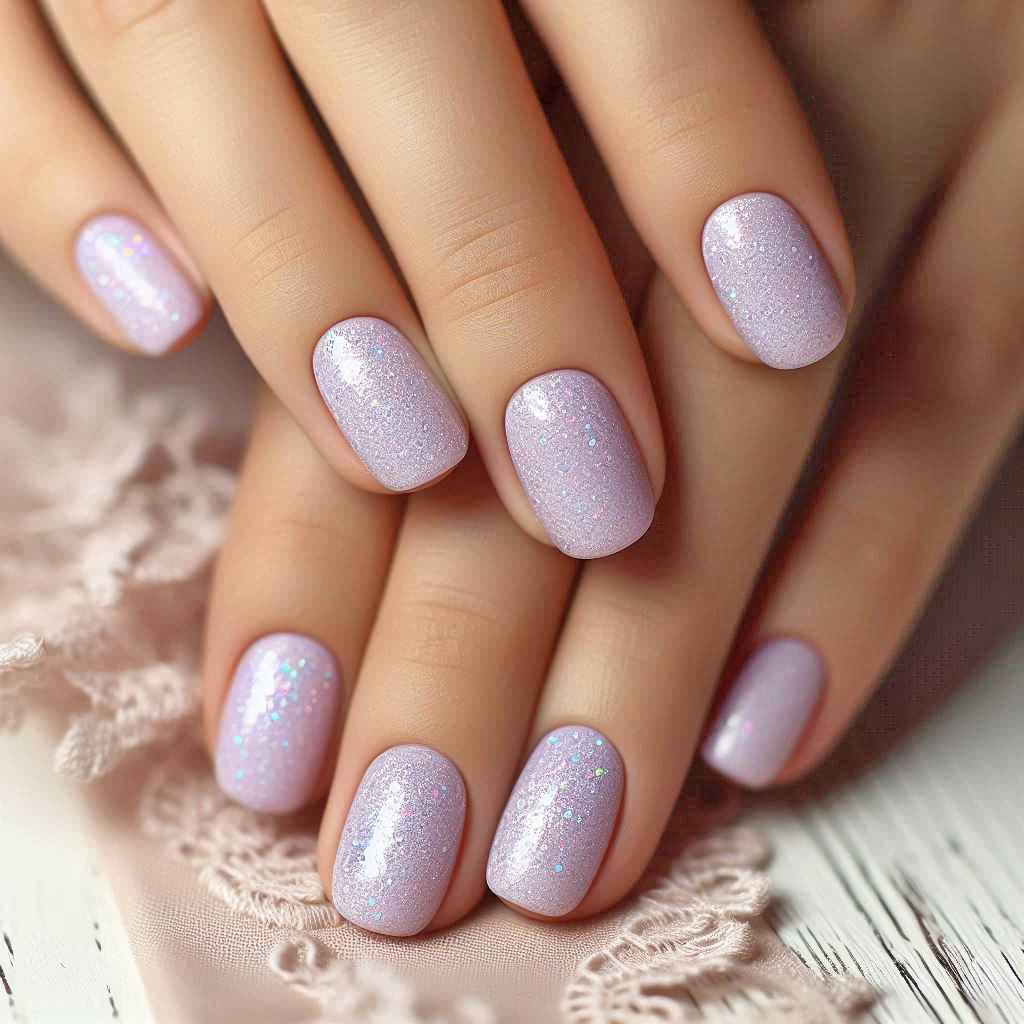
Once your glitter masterpiece is complete, take a small angled brush dipped in nail polish remover and clean up any excess polish or glitter around the cuticles. This will give your nails a crisp, clean finish.
If you’re feeling extra creative, you can add rhinestones, decals, or additional nail art to accentuate your glitter design. Just remember to keep the balance—sometimes less is more!
Inspect your nails to make sure everything looks even, and make any final touch-ups if needed.
Aftercare Tips for Glitter Nails
Glitter nails may be glamorous, but they need proper care to last. Avoid using your nails as tools, and try to wear gloves when doing household chores like washing dishes.
If you notice any chips, you can apply a thin layer of top coat to refresh the shine. To safely remove glitter nails, use the foil wrap method—soak a cotton pad with nail polish remover, place it on your nail, and wrap it with foil for 10-15 minutes. This helps loosen the glitter without excessive scrubbing.
And that’s it! You’ve officially mastered a simple yet stunning glitter nail art look. Remember, practice makes perfect, and don’t be afraid to try out new glitter combinations and techniques. Whether you're dressing up for a special occasion or just want to add some sparkle to your everyday style, glitter nails are a fun and easy way to make a statement.
So, go ahead and show off those dazzling nails—you’ve earned it!
